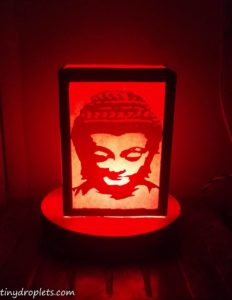
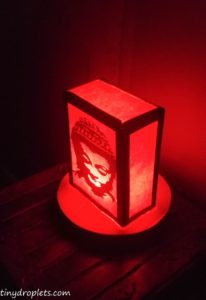
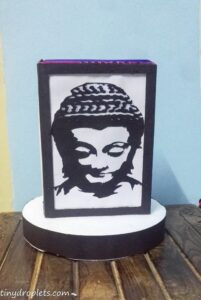
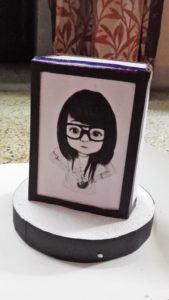
Lighting is one of my favorite idea which pops up in my mind whenever I plan to decorate my house for any party. From fairy lights to night bulbs these can be used in many ways to light up the mood. Recently I was planning to buy a night lamp for my side table, I browsed through many online shops and got bored as I am too reckless whenever it comes to online shopping..I closed my laptop and thought of doing my laundry chores…and in this process I got an old box which gave me a terrific idea, an idea to make a table lamp.
Some of the most memorable designs are born more out of necessity than creativity. Working with the materials at hand rather than going out in search of something new can produce spectacularly creative results.
I love to use items that we see every day, this beautiful table lamp incorporates recycled materials and the result is some truly impressive illumination.
At times, the recycled materials and the finished product have equal importance, such as in the cases of this recycled lamp. Doing something similar with your kids can be a fun activity too.
TRY IT OUT:
For this project you need: cardboard box,scissor,glue,scale,x acto blade, A4 sheet,craft paper,colors,printed buddha design,bulb with holder and thermocol sheet.
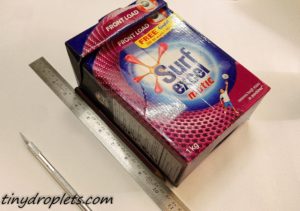
Get an old box, I had this one at my disposal…
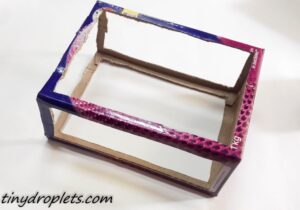
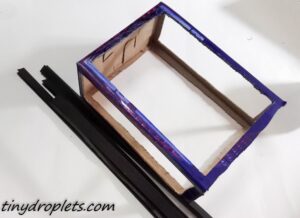
Start marking on all the sides and using an x-acto blade start cutting. I have removed the lid first, make sure cuts are fine. Box should look as shown below..
This is going to form the frame, over which we will be gluing our design. But before that cut long paper strips, color it using black water color. Make sure the strips covers the corners completely.
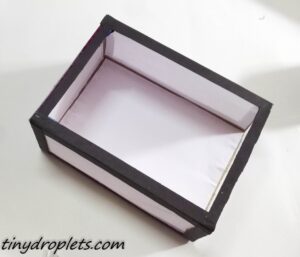
Glue the strips and let it dry. Once this is done use plain white A4 sheet to cover the sides of the frame. Use plane sheet on backside,side wards and on top. Leave the base and front portion open. Your box should look like this.
Front portion will be covered with design. I took print-out of buddhas face on an A4 sheet. Glue the design and let it dry.
The frame is ready and its time to fix the bulb holder on a base.
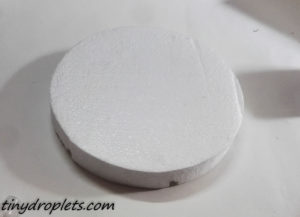
I have used an old leftover round shaped thermacol sheet. Any form of base can be used even cardboard based but it should be thick.
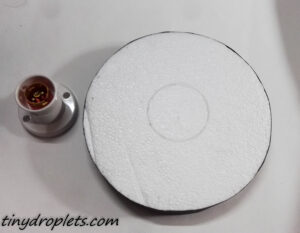
Any type of bulb holder can be used. First step would be to make a hole at the center of the platform of a size to let the holder pass. Second task would be to fix the holder strongly so that the holder remains stable.
Things are almost done. Cover the holder with the frame, through the open end.
And its time for happiness to glow.
Share your handmade lamps….
Happy Crafting !!!
