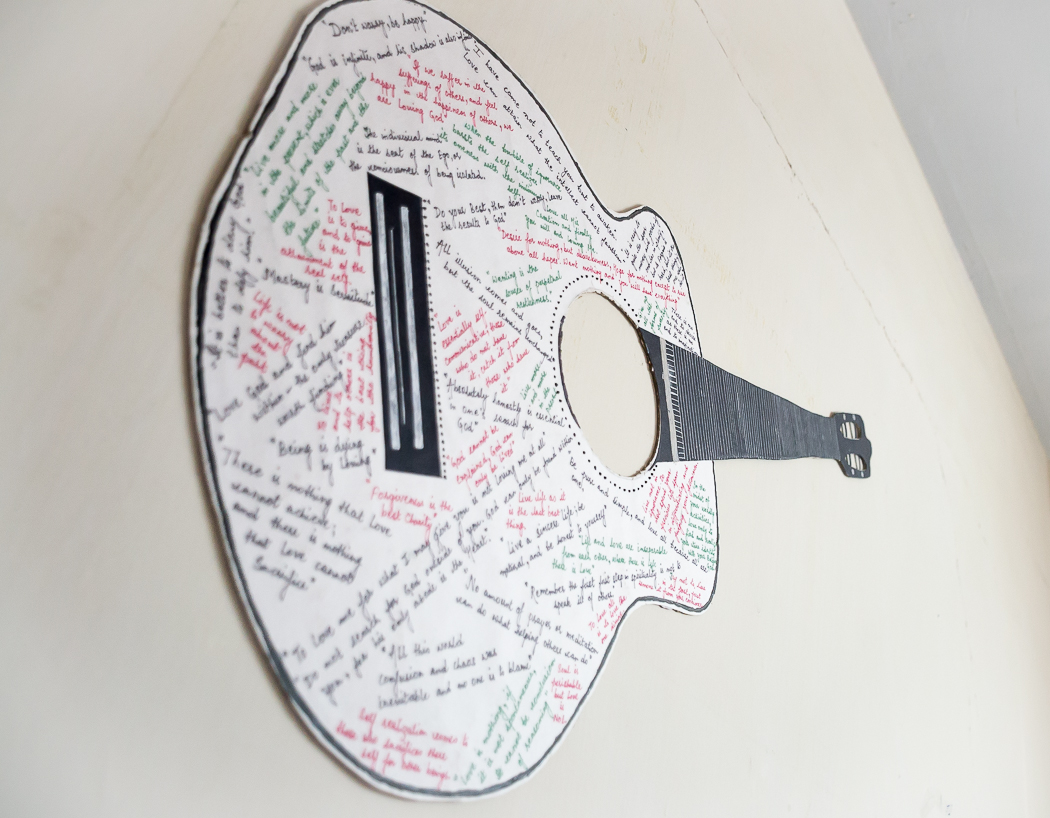
Handcrafted guitar
A guitar cut out from a cardboard sheet, with scribbled quotes and beautiful messages.
A guitar cut out from a cardboard sheet, with scribbled quotes and beautiful messages.

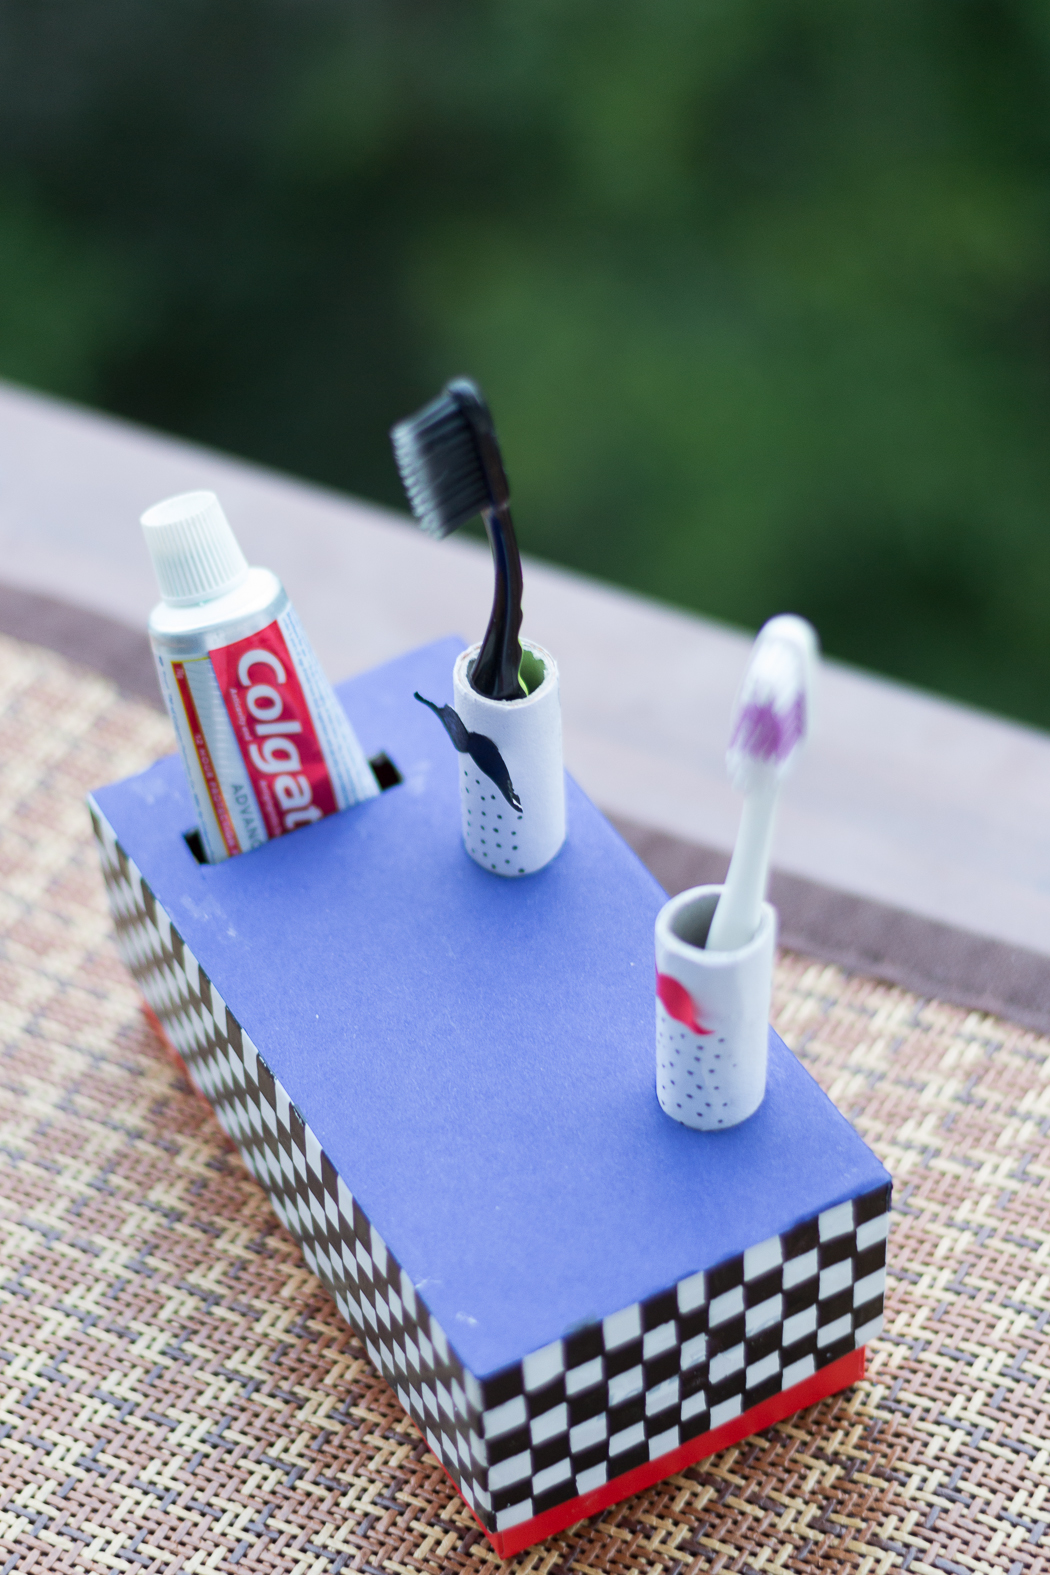
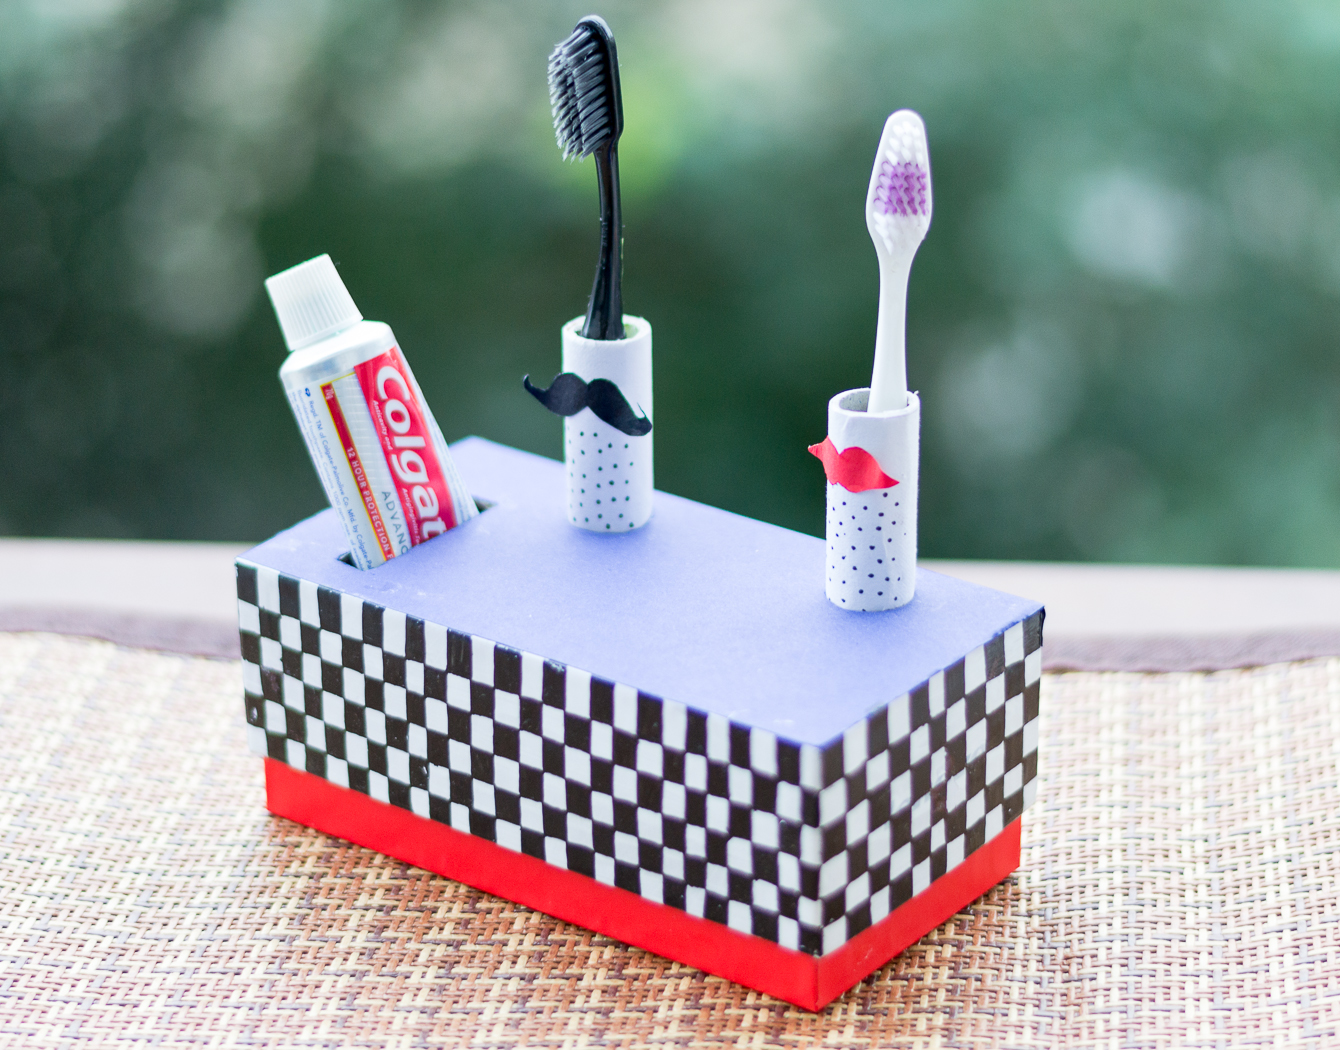
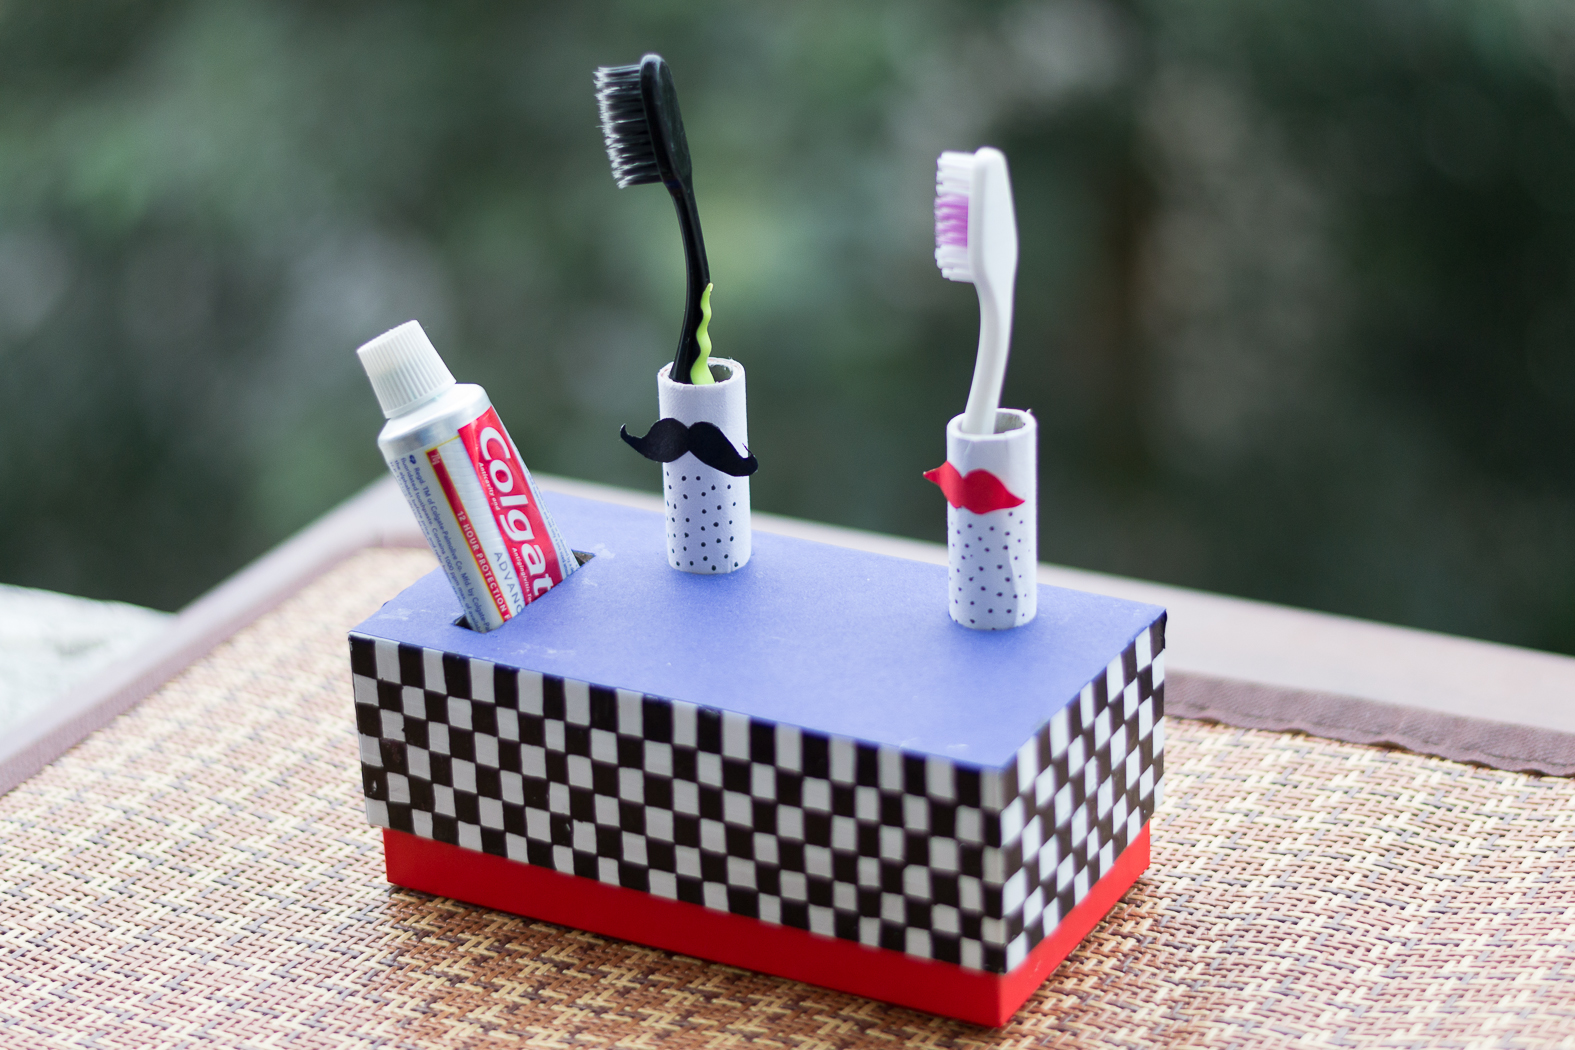
Here is a cute and compact toothbrush holder for your home, up-cycled using a cardboard box.
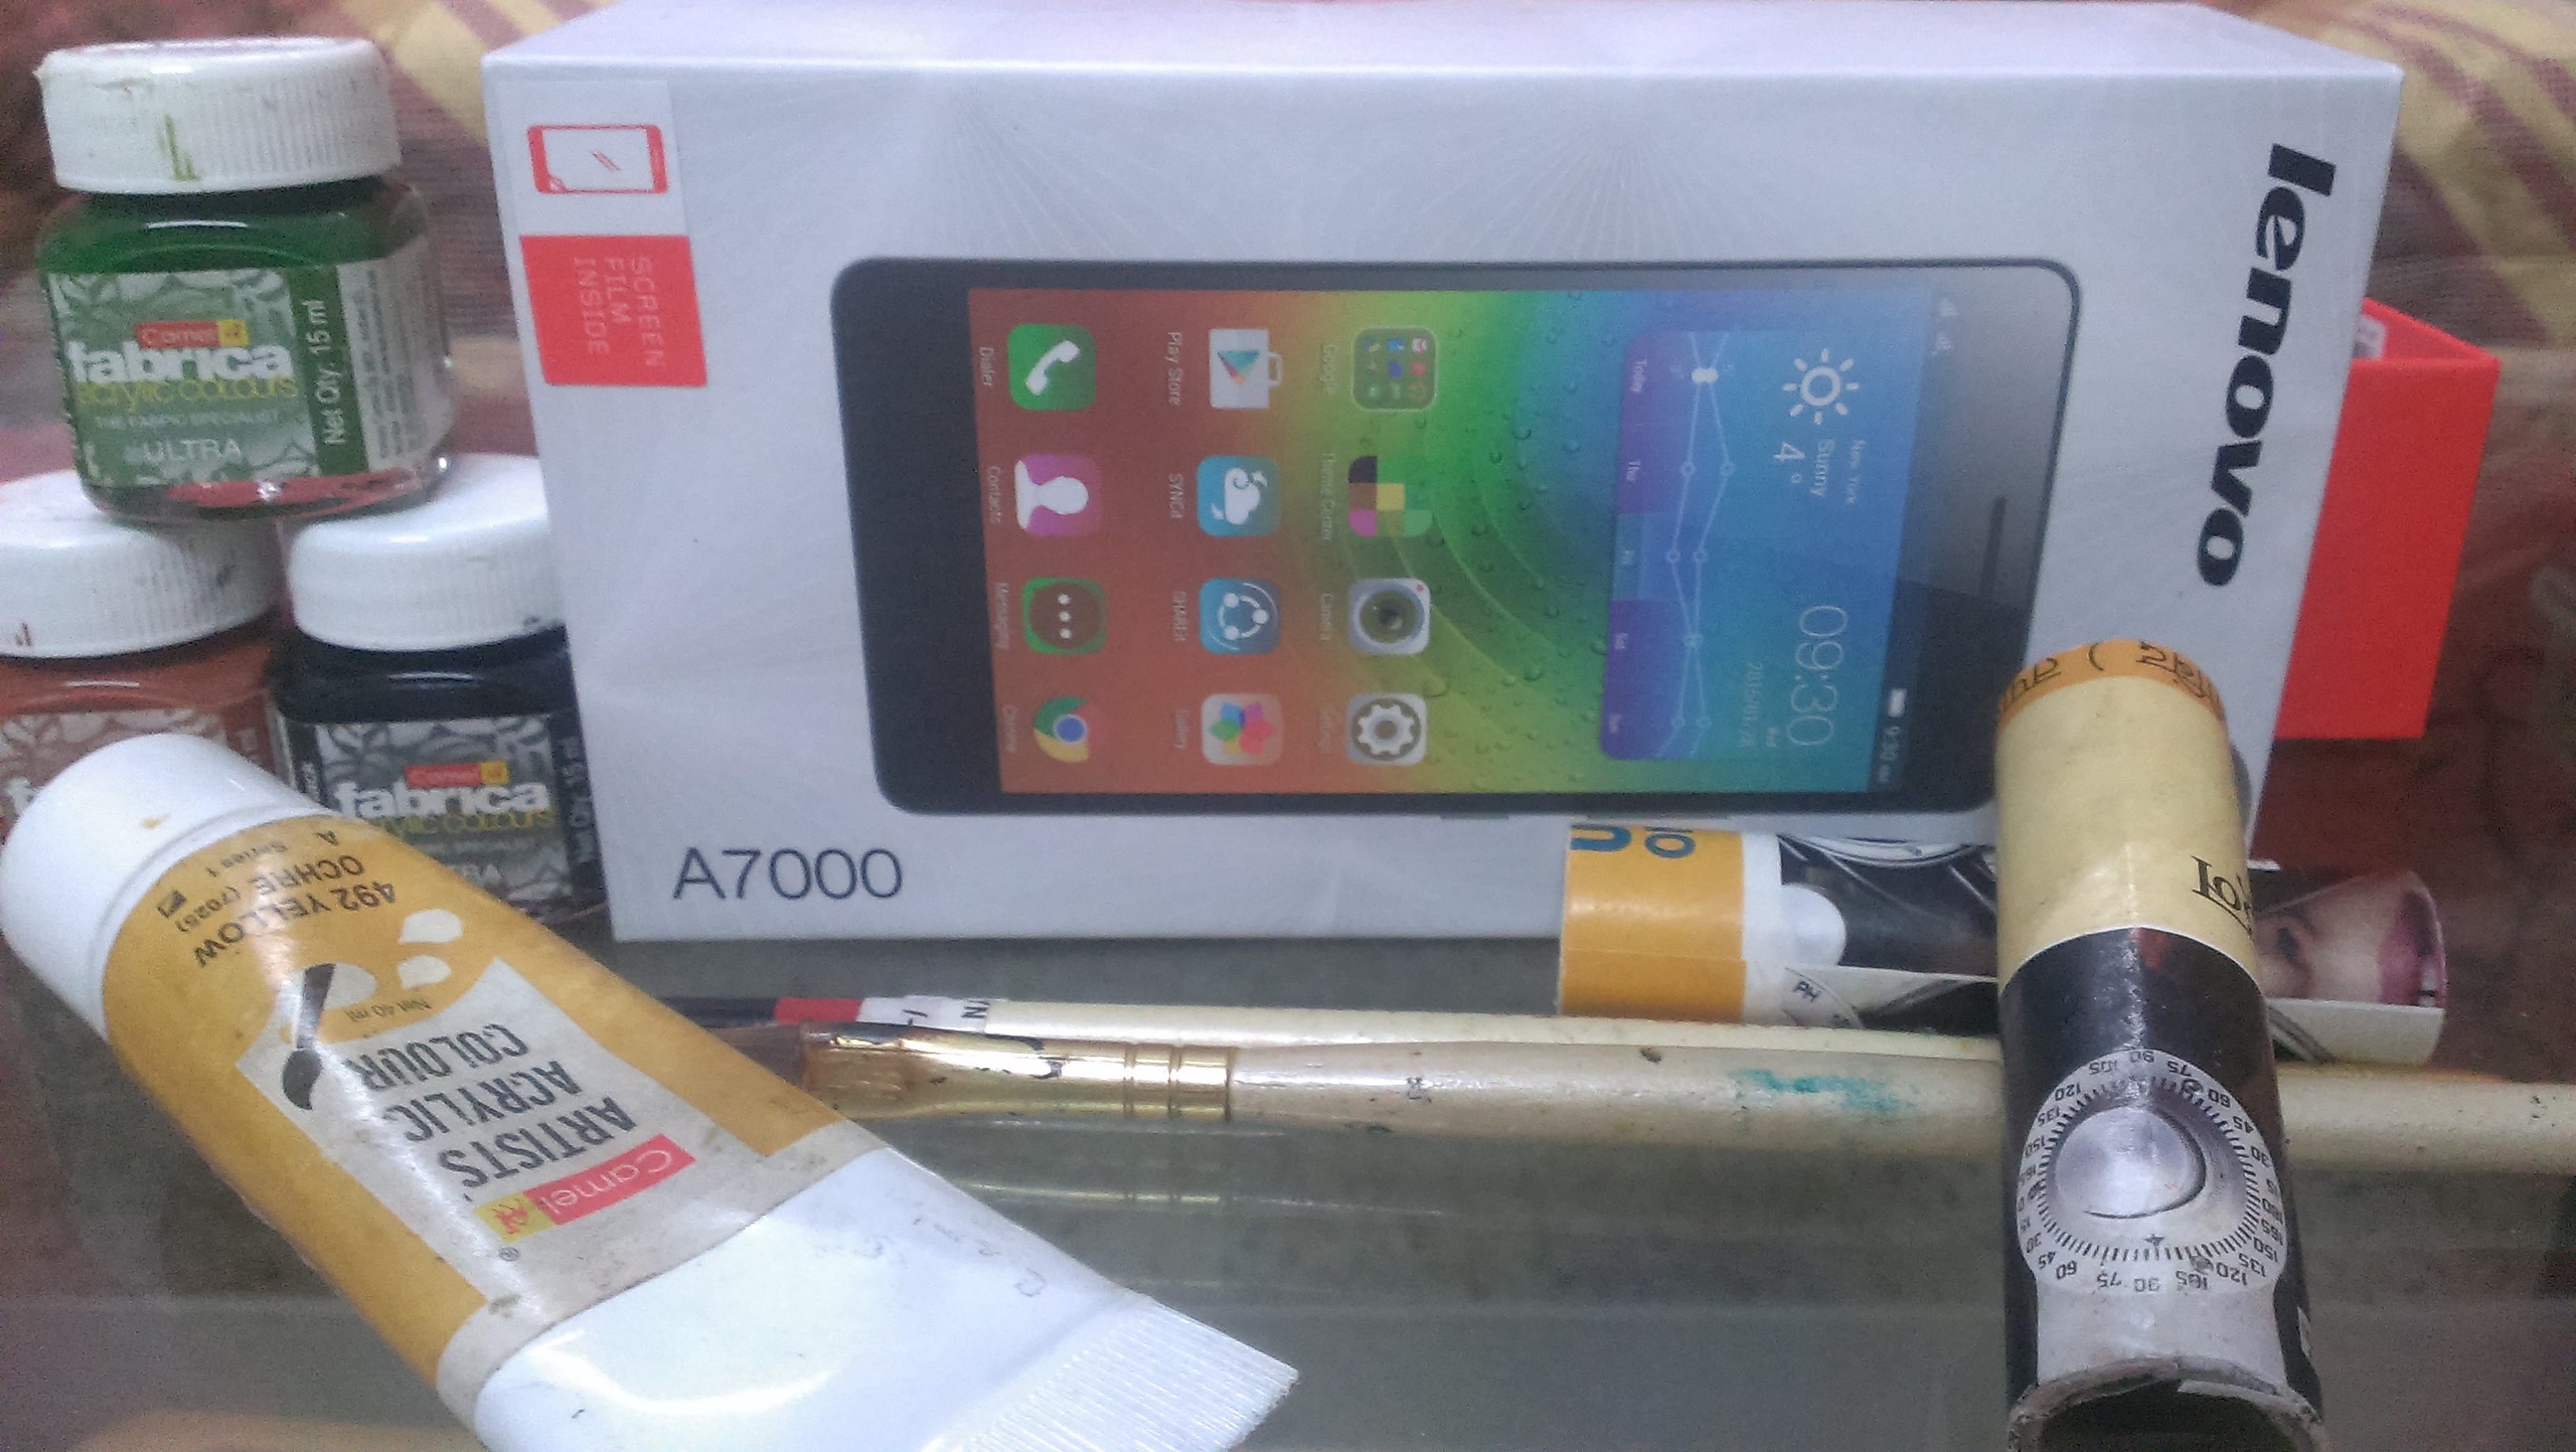
I had a lenovo mobile box, I just wanted to use it make something different, something which new and creative.
So, after a bit of juggling I decided to make something which I was in need of. I decided to make a toothbrush holder 🙂
TRY IT OUT:
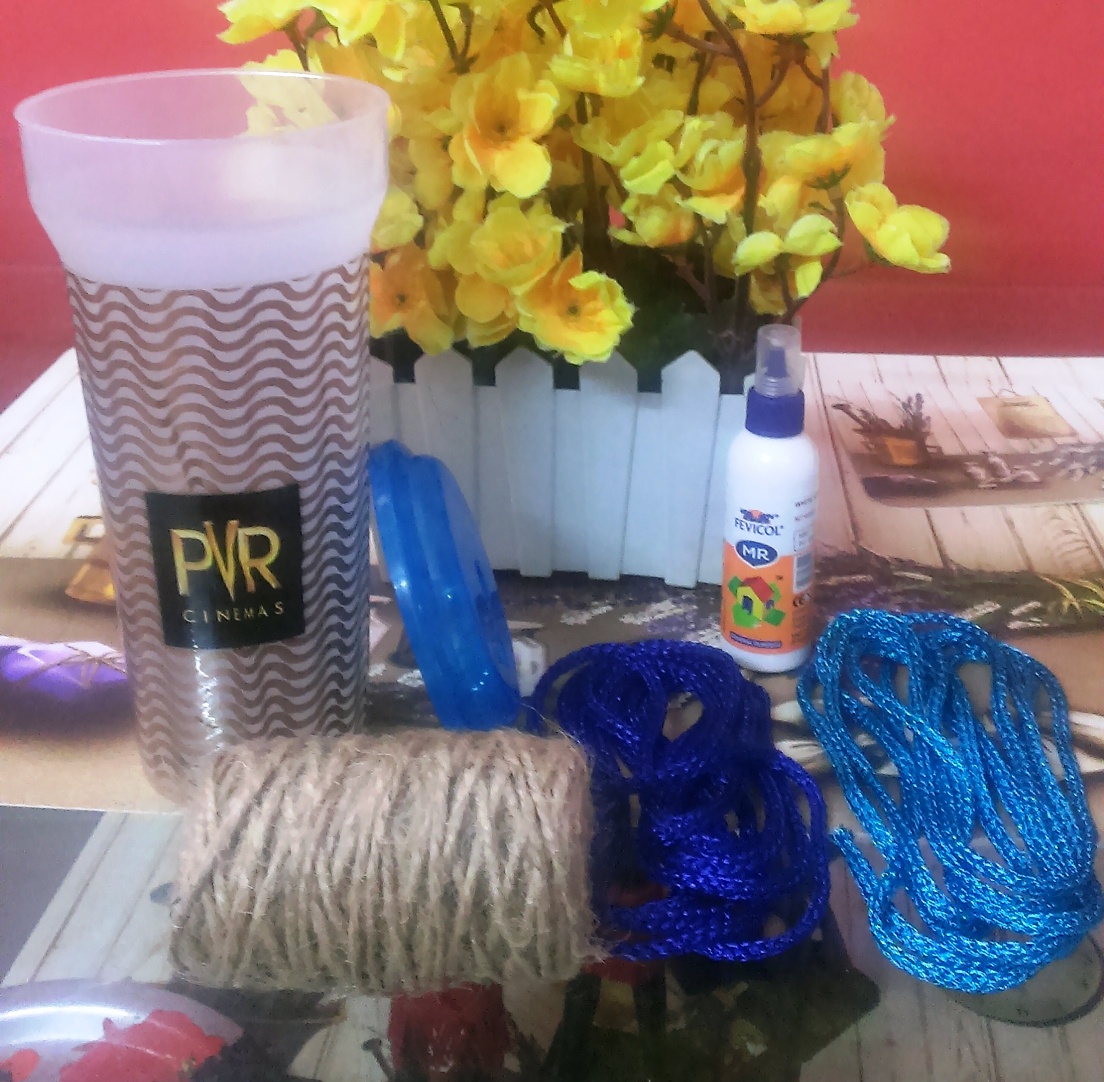
All you need is a cardboard box. Here is the one which I chose.Along with the box we need craft paper,glue and two small tube shaped cardboard (Here I used the tube over which thread was wound).
To start with, just make two round holes and a square hole at the the top portion.Once its done, cut craft paper of your choice and glue it to the top leaving the holes uncovered.
Now its turn to design something on the front portion of the box so that it gets a trendy look. All I did was to make straight vertical and horizontal lines all over the box.

Painted alternate squares with black acrylic color.
Once done with painting keep it aside to dry. Take the cardboard roll, use some white color sheet and glue. Cover the tube completely.

To give it a final touch all you need is cut paper mustache and lip. Glue it to the tube, make some dots using black marker pen. Glue the cover of the box a bit above the the base so that the bright red color base shows out.
Waiting to listen up what box you chose to make this toothbrush holder 🙂 🙂
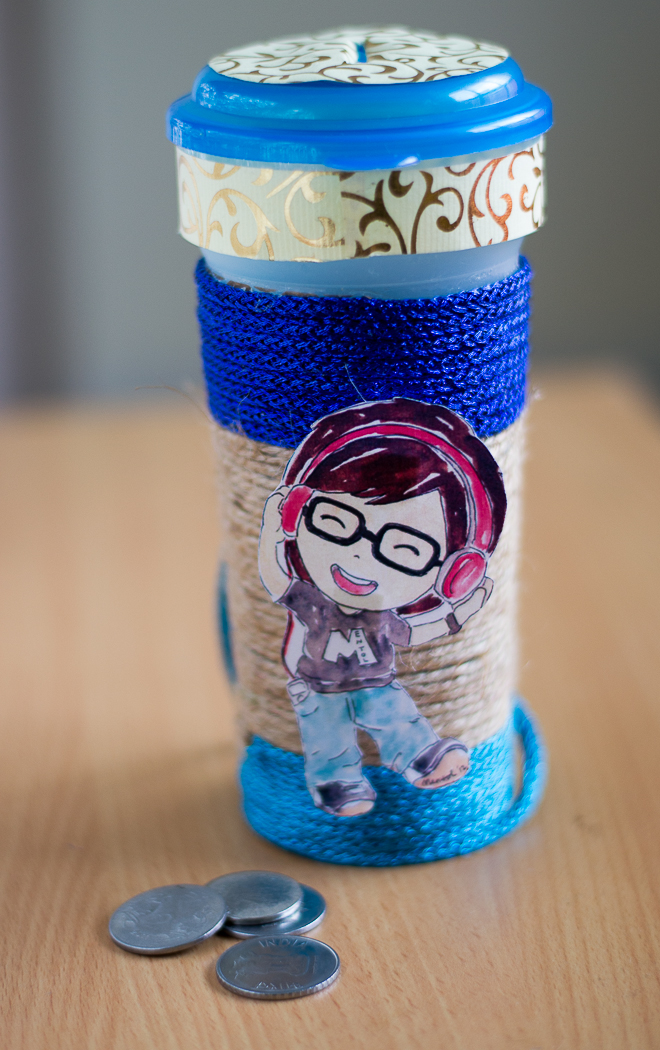
Here is an idea of up-cycling a coke bottle purchased at PVR into a piggy bank for your little kid.
I myself love money box.I have a habit of saving coins, so every time I go out for grocery shopping or any where else I come home and first thing I do is empty all my coins and the practice continues 🙂
I made this money box for my colleagues son.
TRY IT OUT:
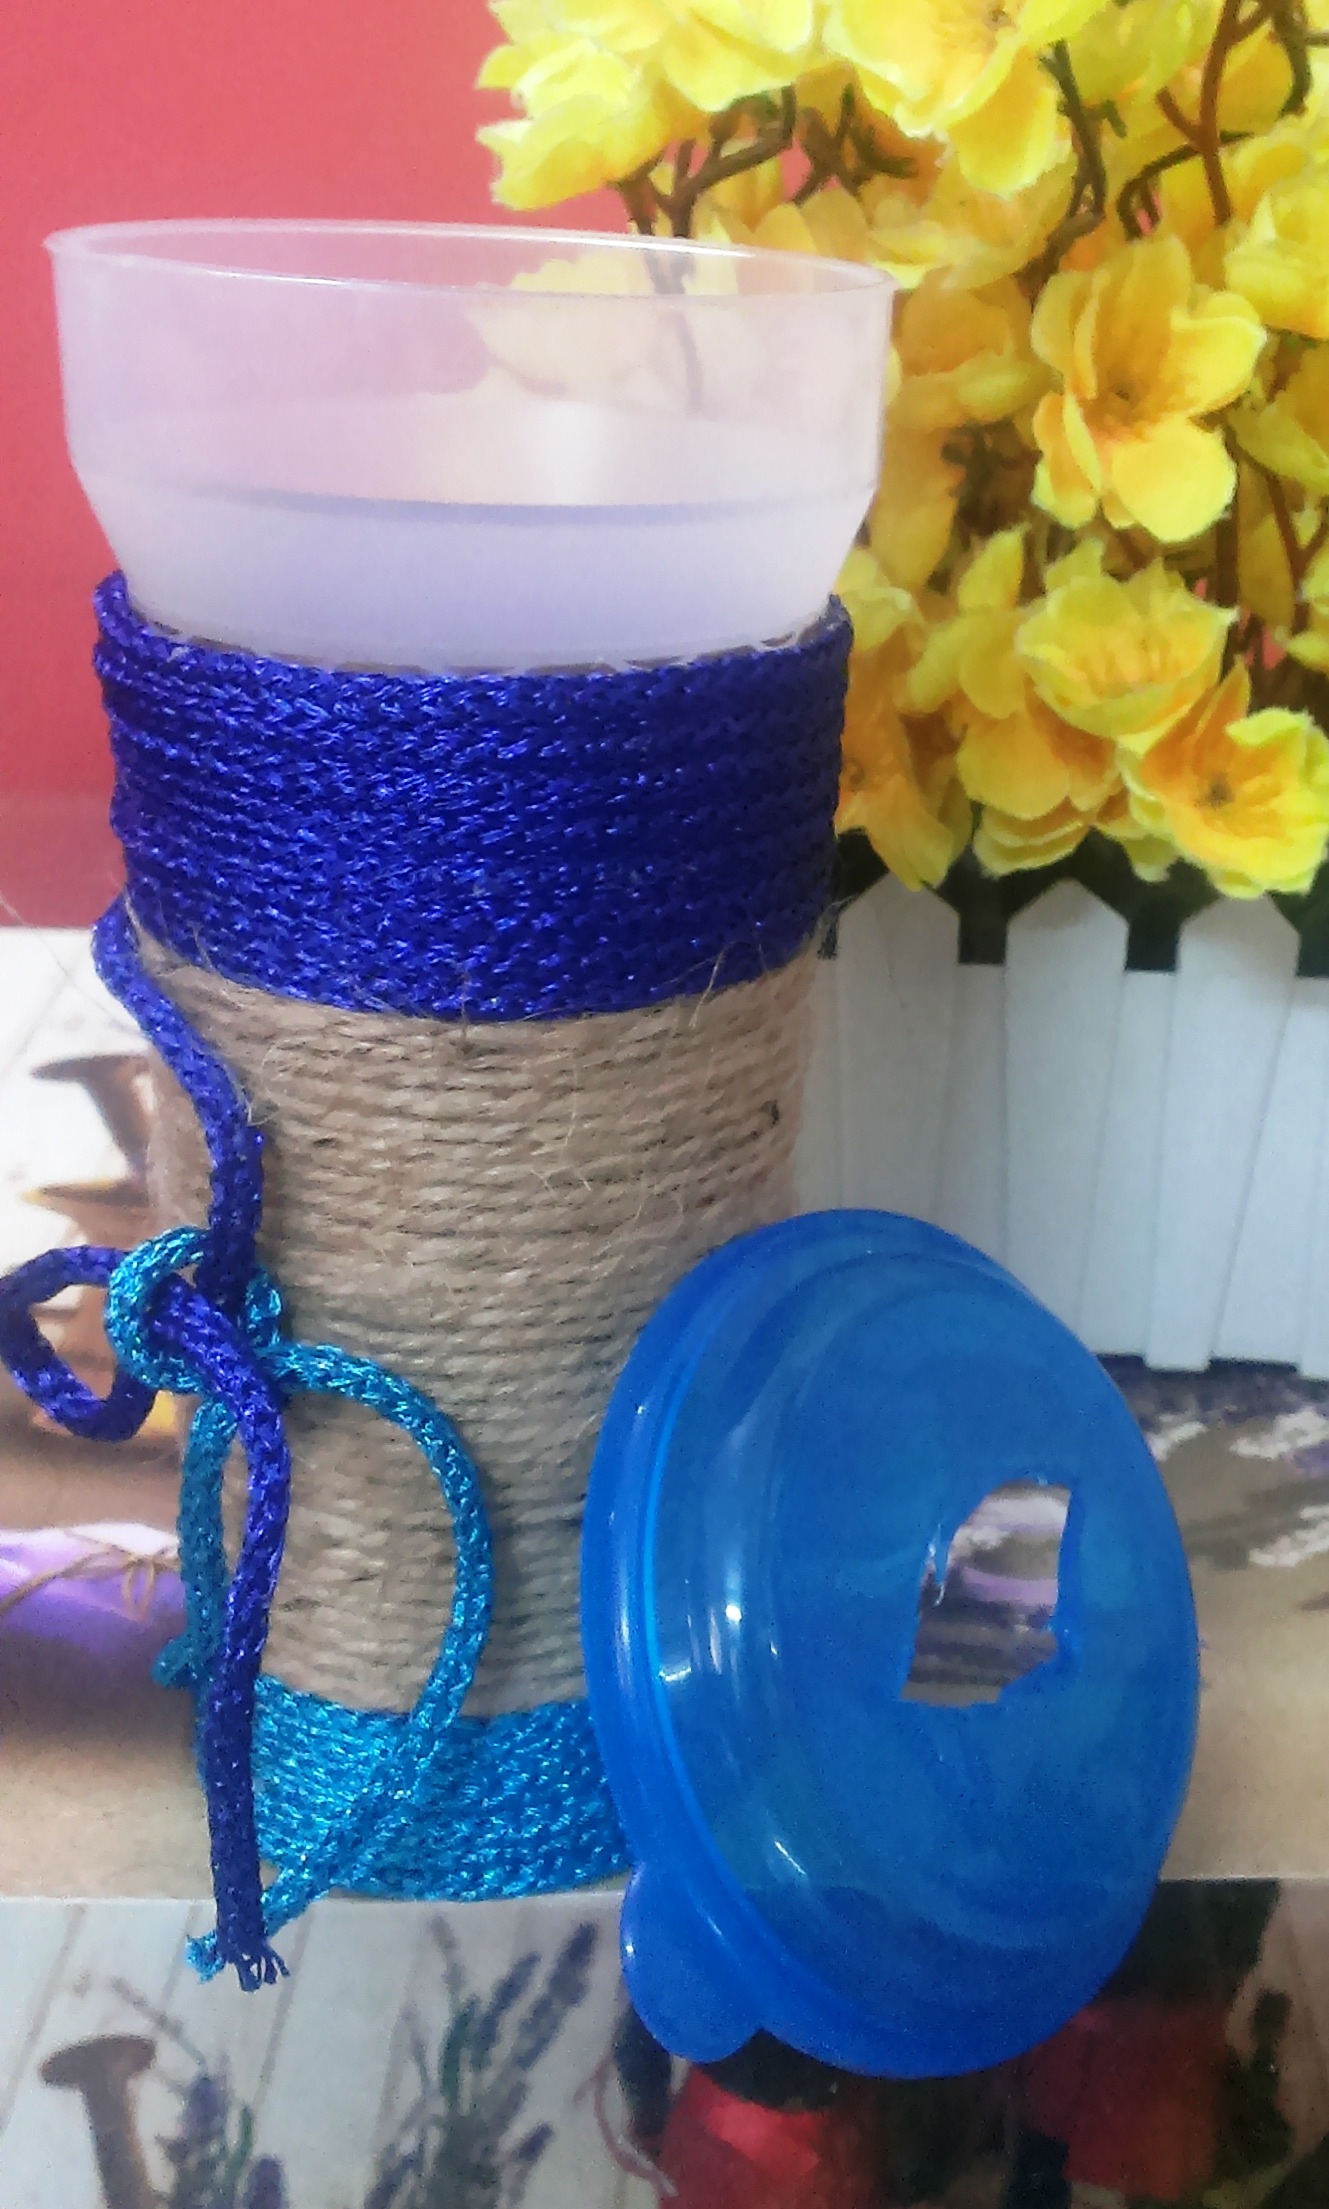
Take a bottle of same shape as I have used.This bottle is made of plastic and is transparent.

For this money box you need to have colorful threads or yarns of your choice,glue and craft paper.
After this all you need to do is completely cover the bottle with the thread and yarn with the help of glue. The money box can be given a beautiful look with the help bright color threads. Leave little thread open at the back and tie it up in the form of a knot. Cut craft paper and glue it to the bottle.
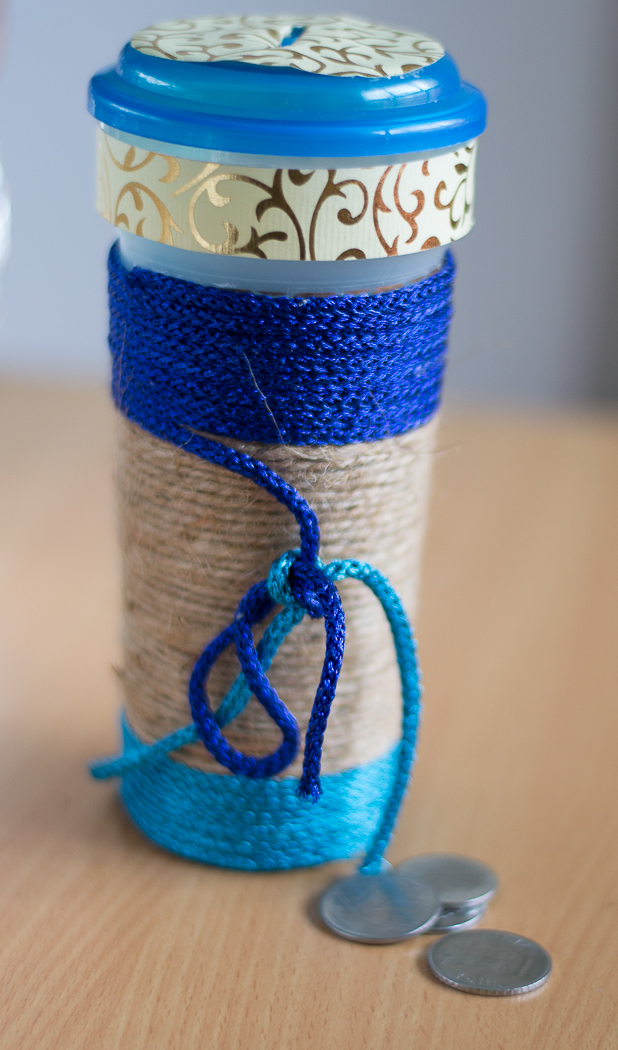
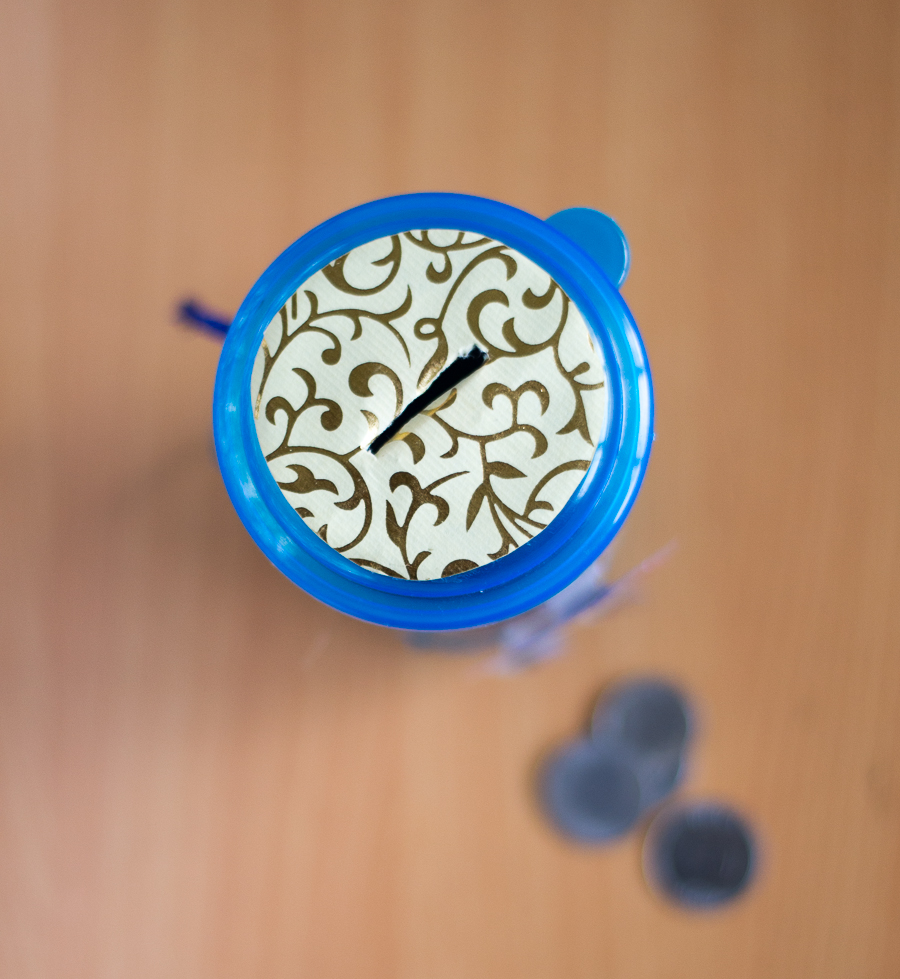
Now its time to make a cut into the lid of the bottle. I did this by using a hot knife.
If the slit cut by you is not in proper shape,no worries. All you need is to stick craft paper from above and make a slit of desired size.
Once its over. All you need to do is give the bottle a final touch.I glued an image of a boy, you can take any cut outs of your choice. Here I have used both sided tape to give the image a pop up look.
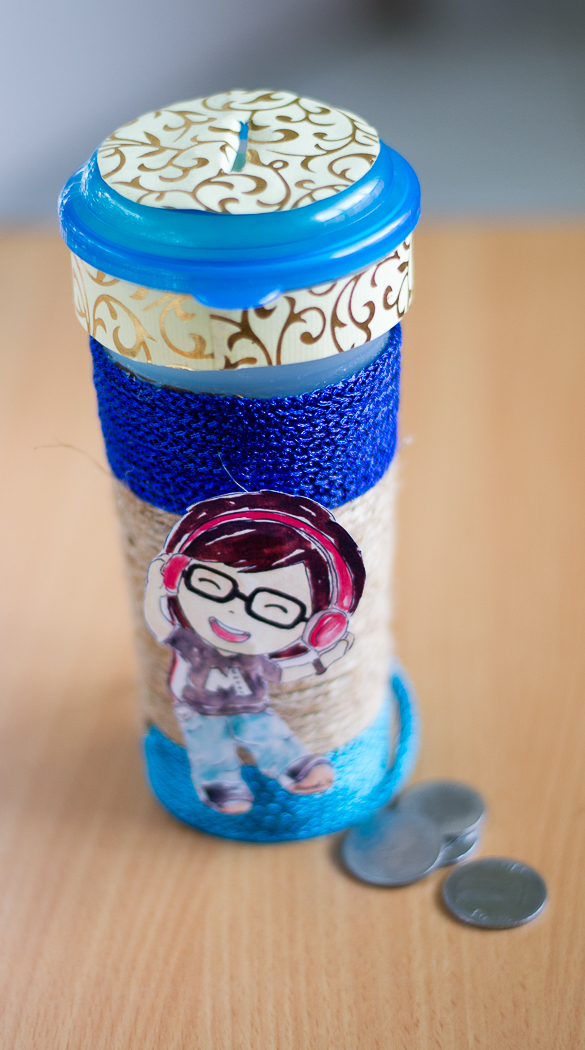
Now try this out yourself and share your experience with me 🙂 🙂
Its March and this beautiful month marks the beginning of Spring….It was during this month during ides of march under the wide and starry sky, I took vows and tied knots with my loving husband…ours was an arranged marriage and it took us sometime to get to know each other. Its March again and an year has passed,still it feels as if its all just yesterday’s tell-tale…
As my marriage anniversary is approaching I was planning something special, something which could light up the day in the same way as it was an year back.Drawn in deep thoughts I tried hard to come up with an idea that’s not only love-some but also exquisite, finally this morning I planned a marriage date calendar that would not only adorn my dinner table but would bring sweet memories of the marriage day.
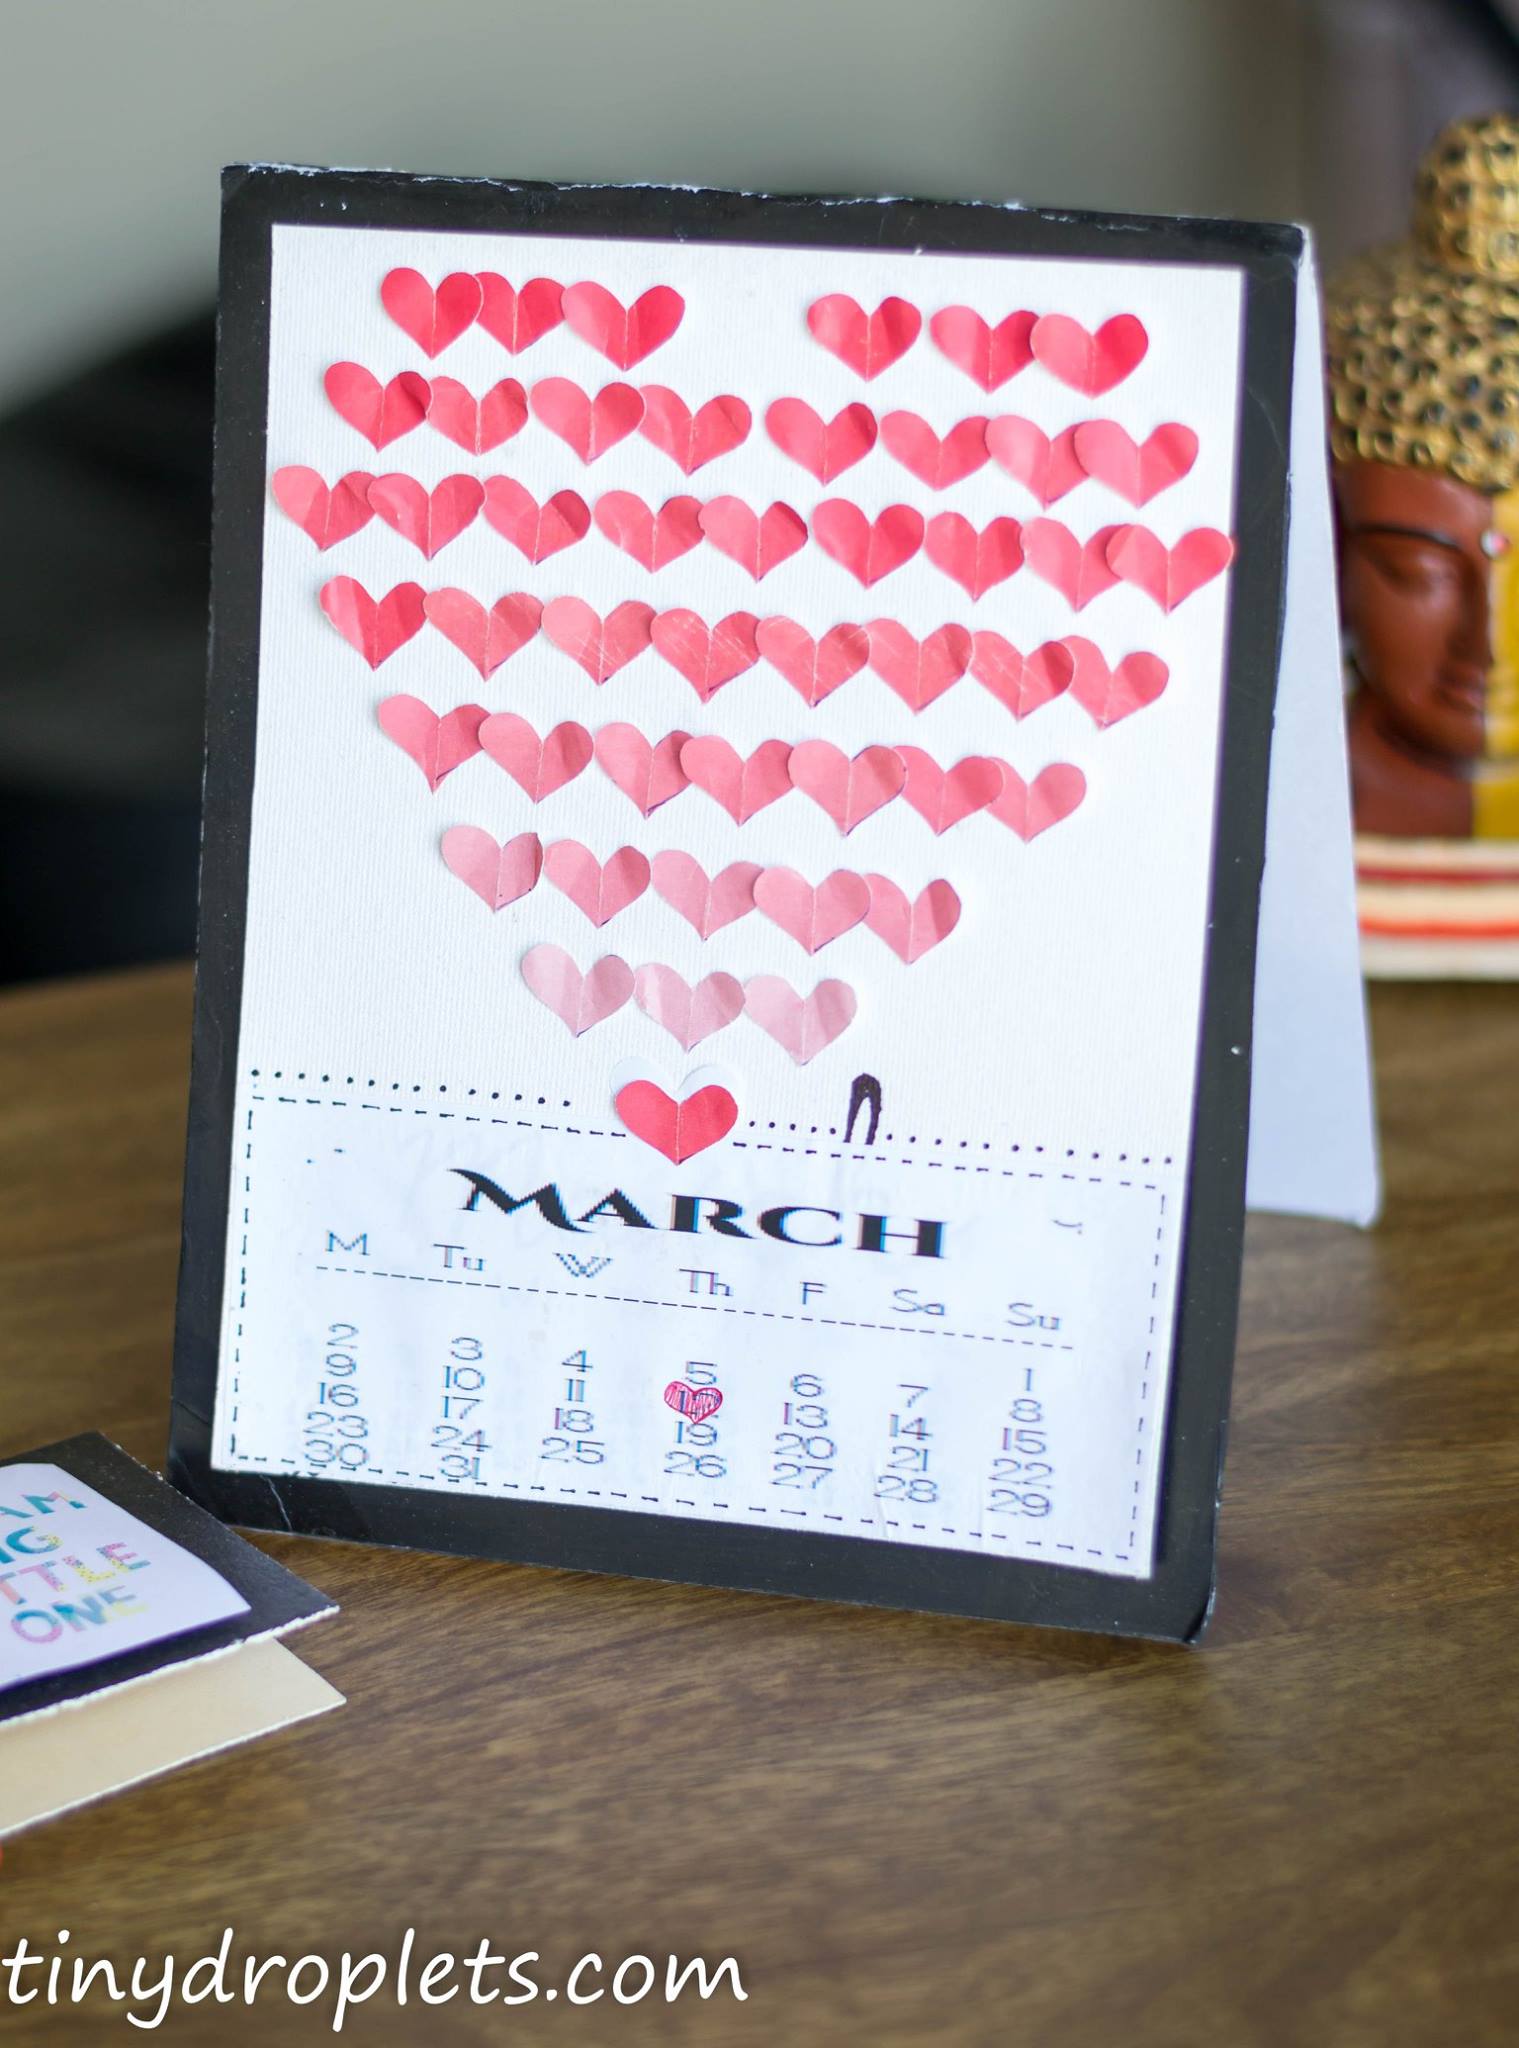
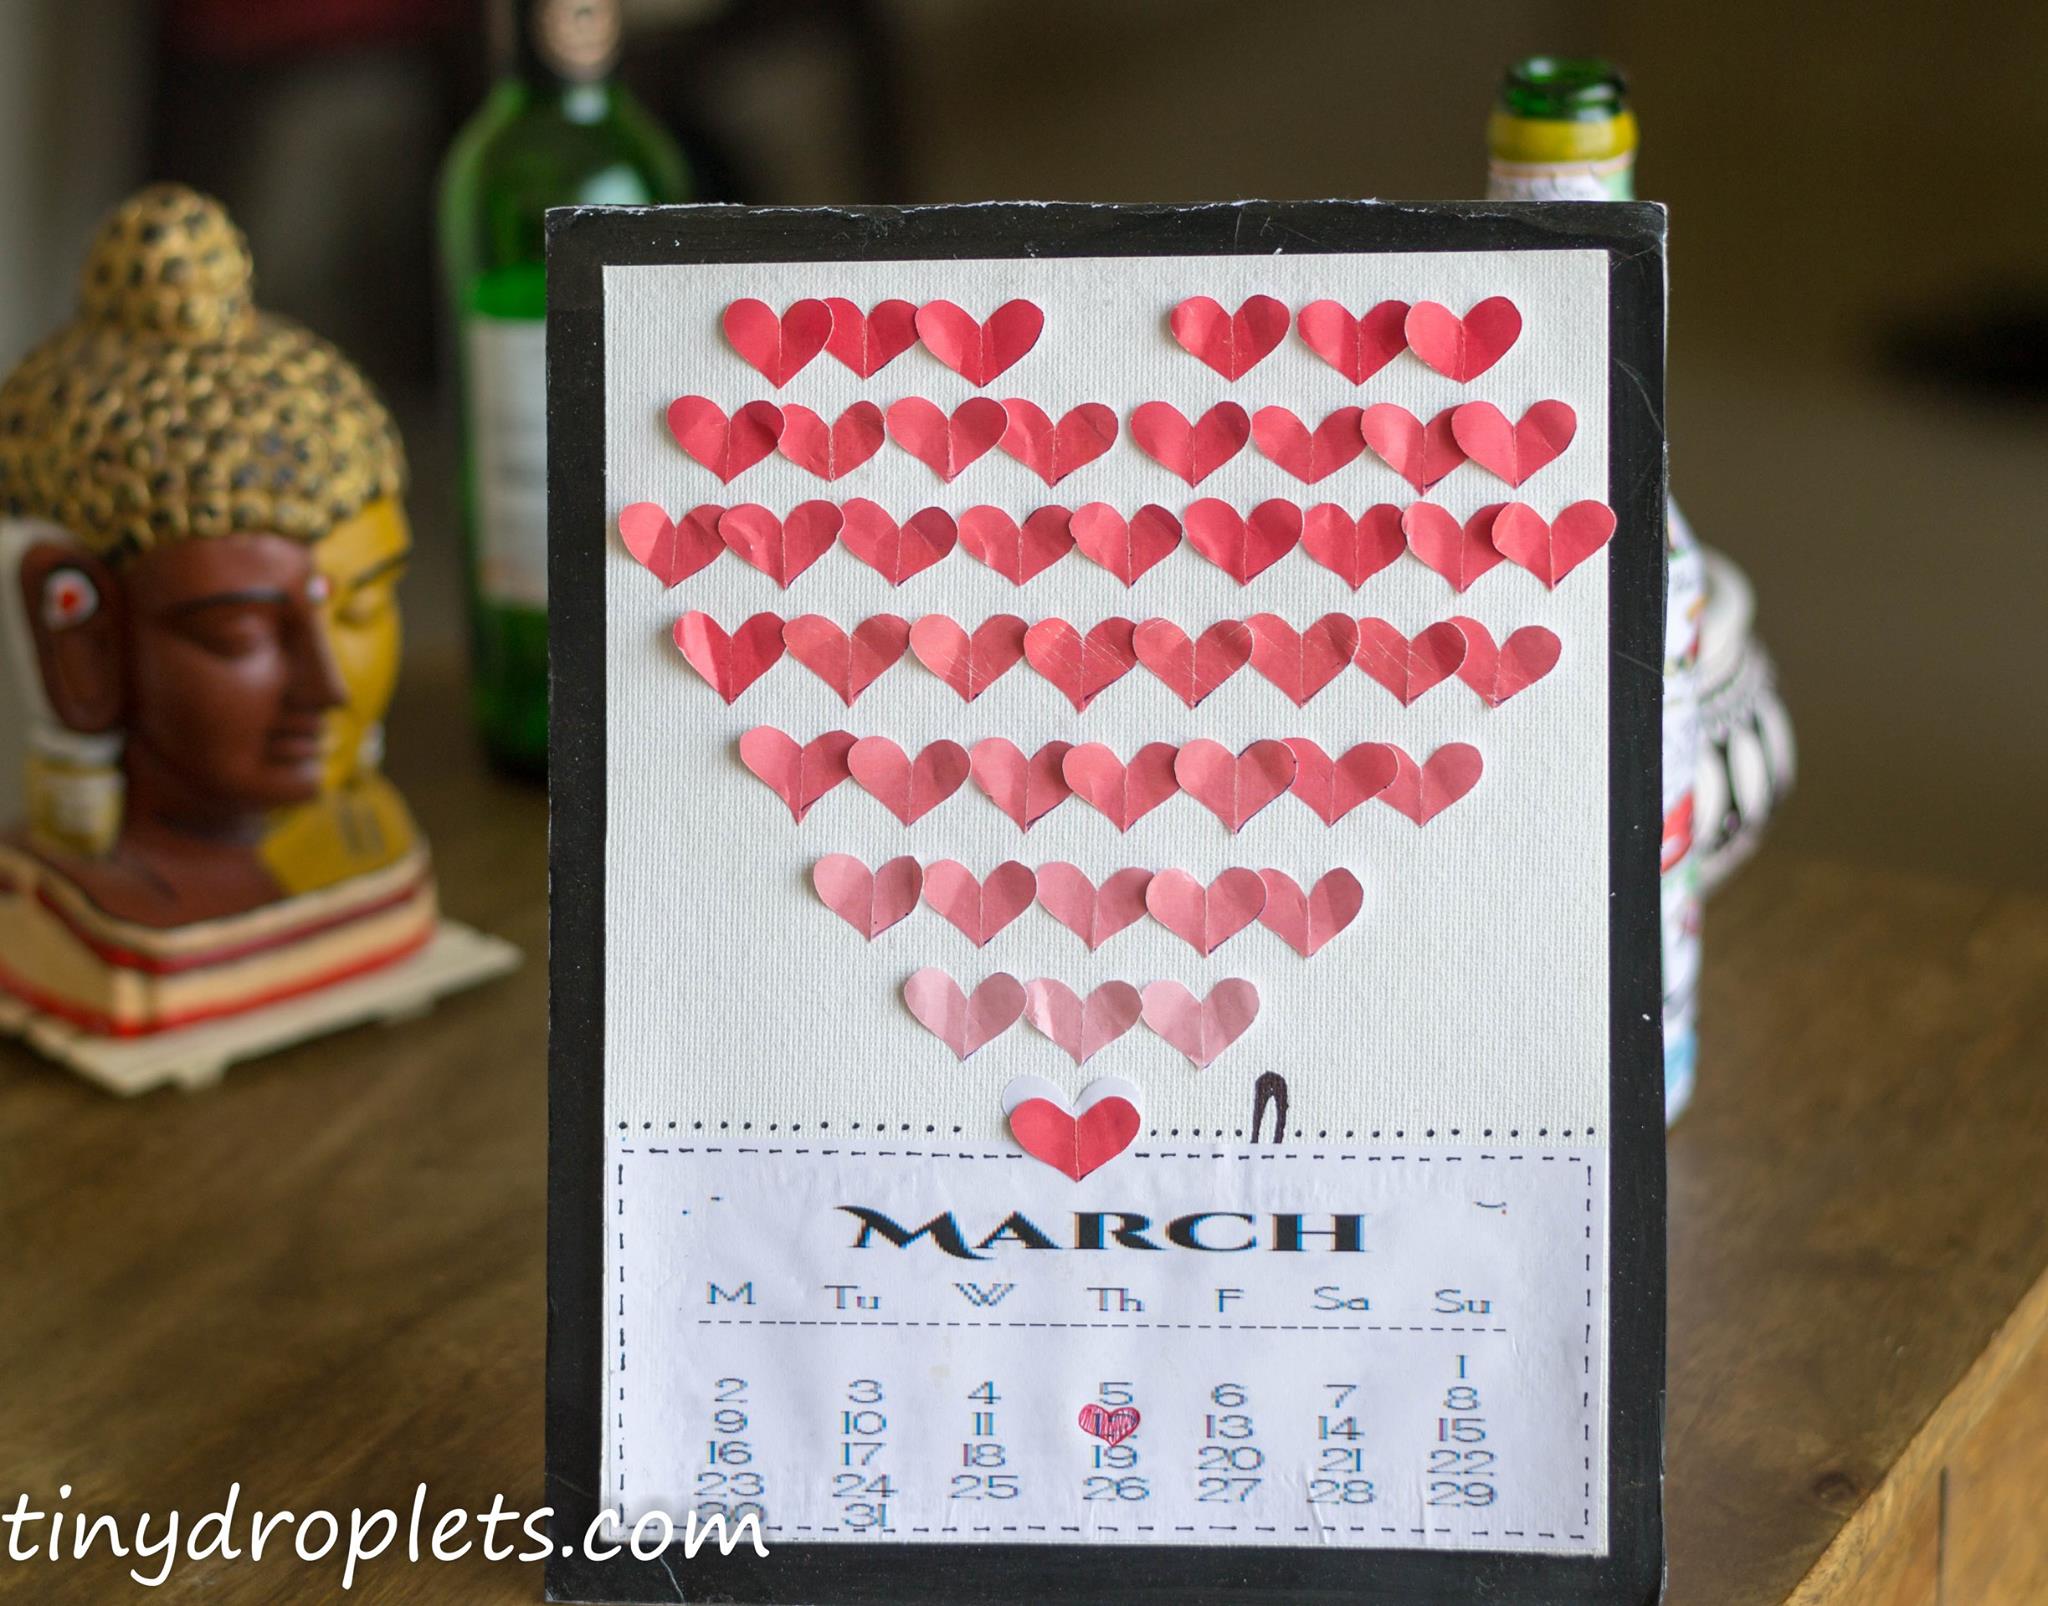
And here is the lovely idea that I came up with.
This calendar depicts love and happiness…..marked with a small heart is my marriage day…
Life is made up of bits and bytes…to turn it into a big celebration all that is needed is a small effort to live life to fullest and desire to make moments to be remembered forever.
TRY IT OUT:
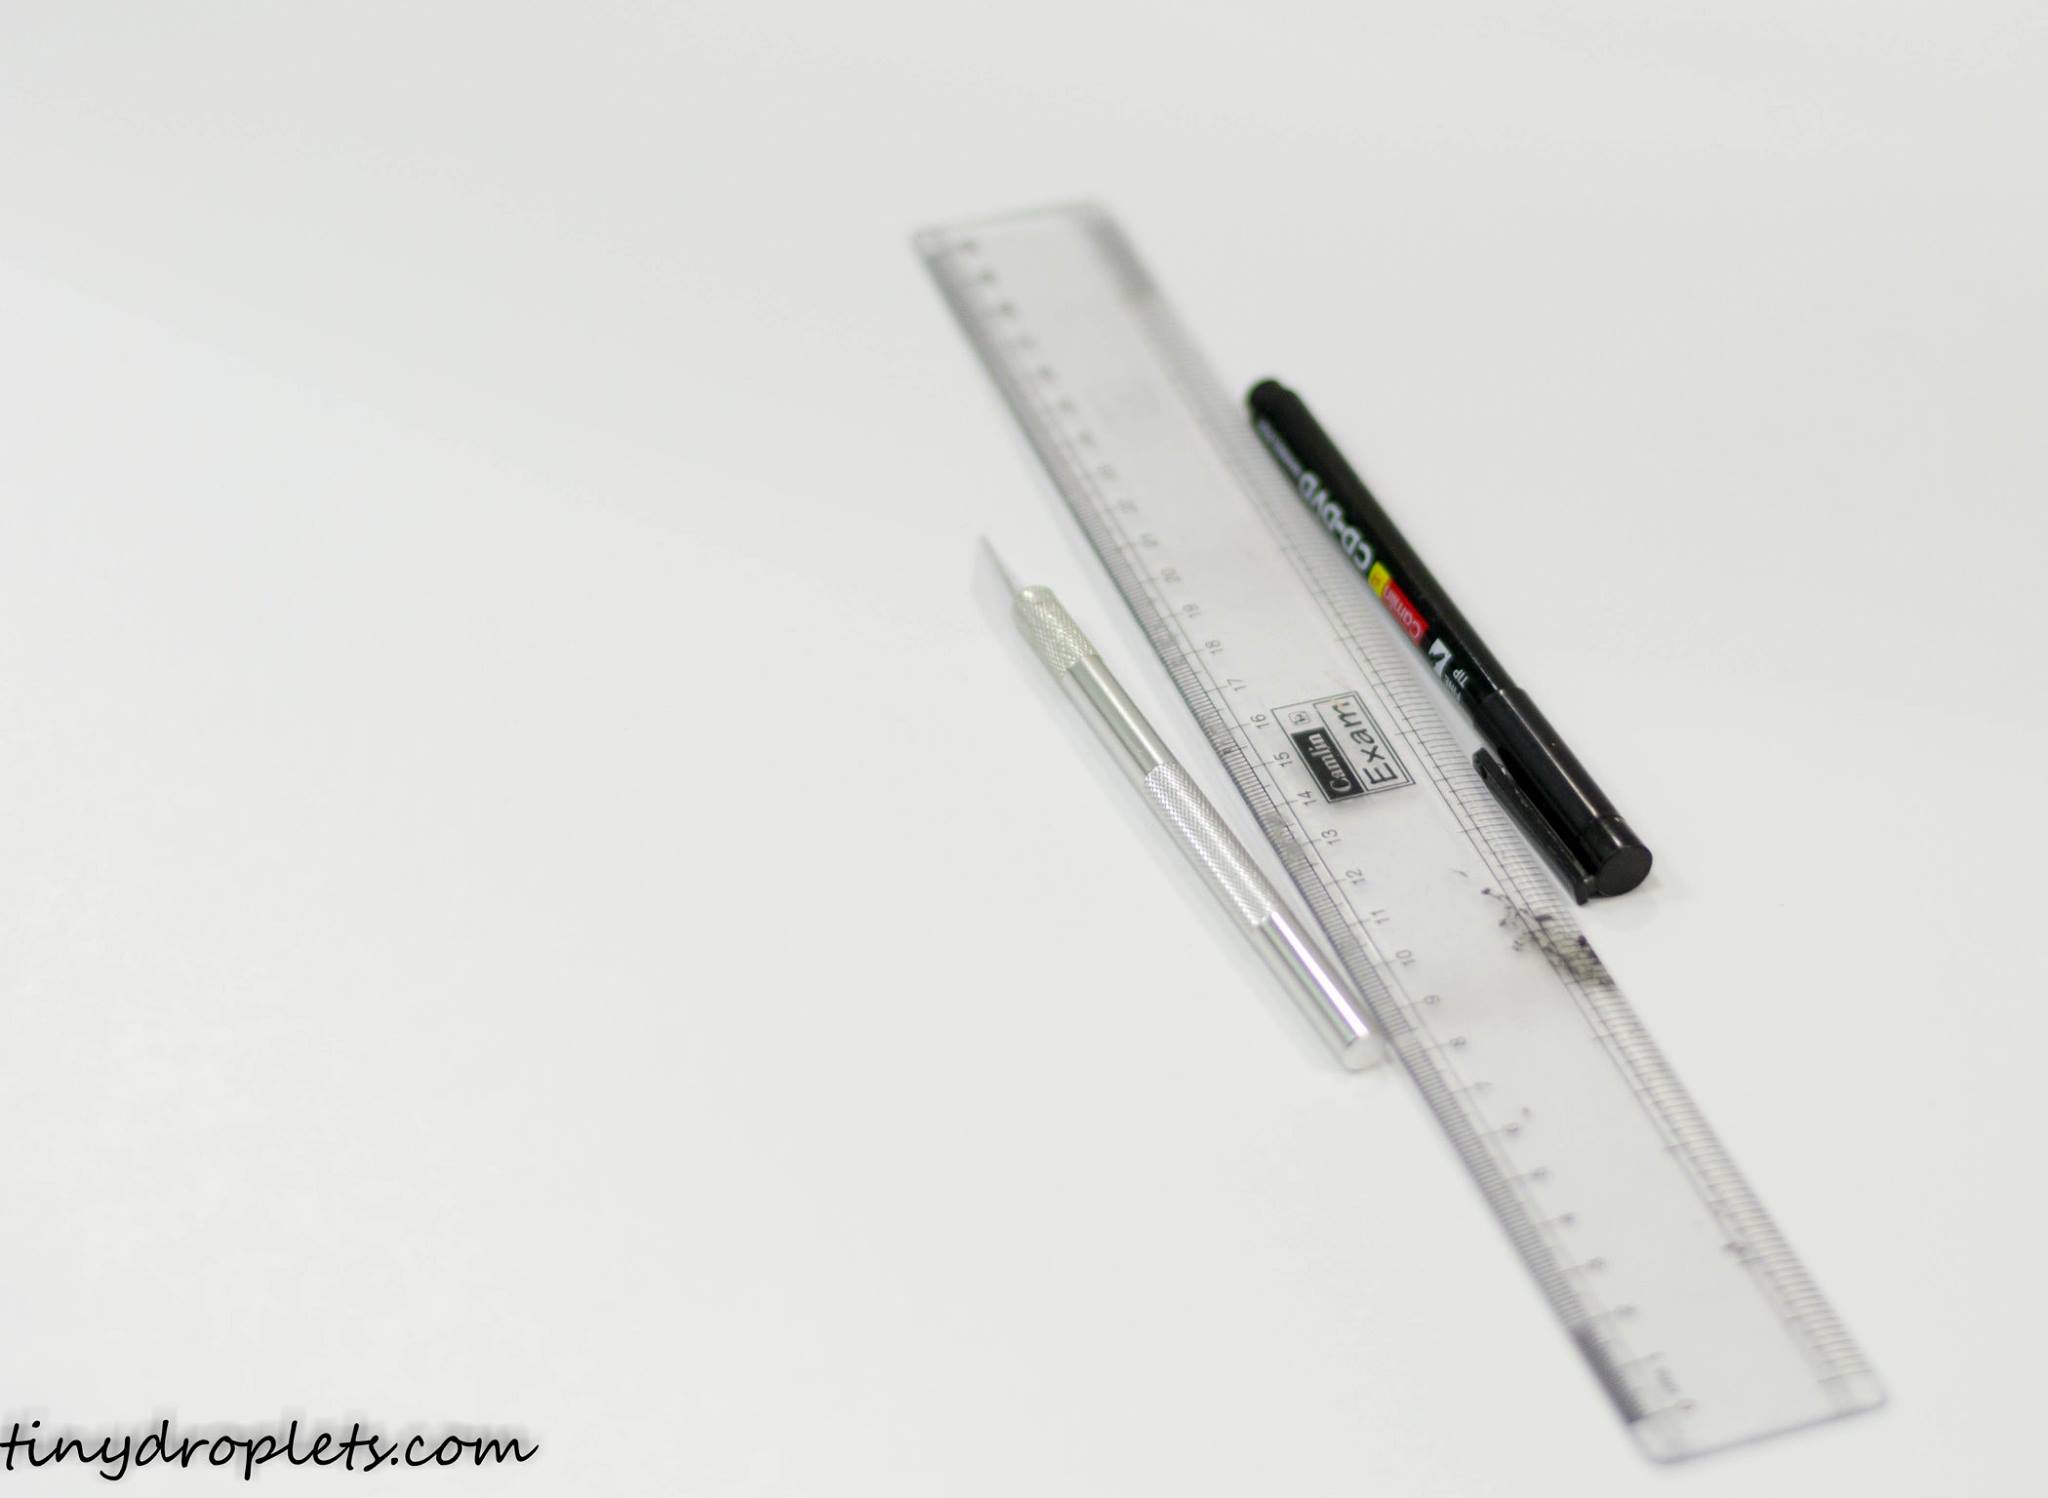
This calendar is a beautiful piece of gift can be easily made and is a perfect eye-turner. Just gather a hardboard sheet,xo blade,craft paper,ruller and glue.
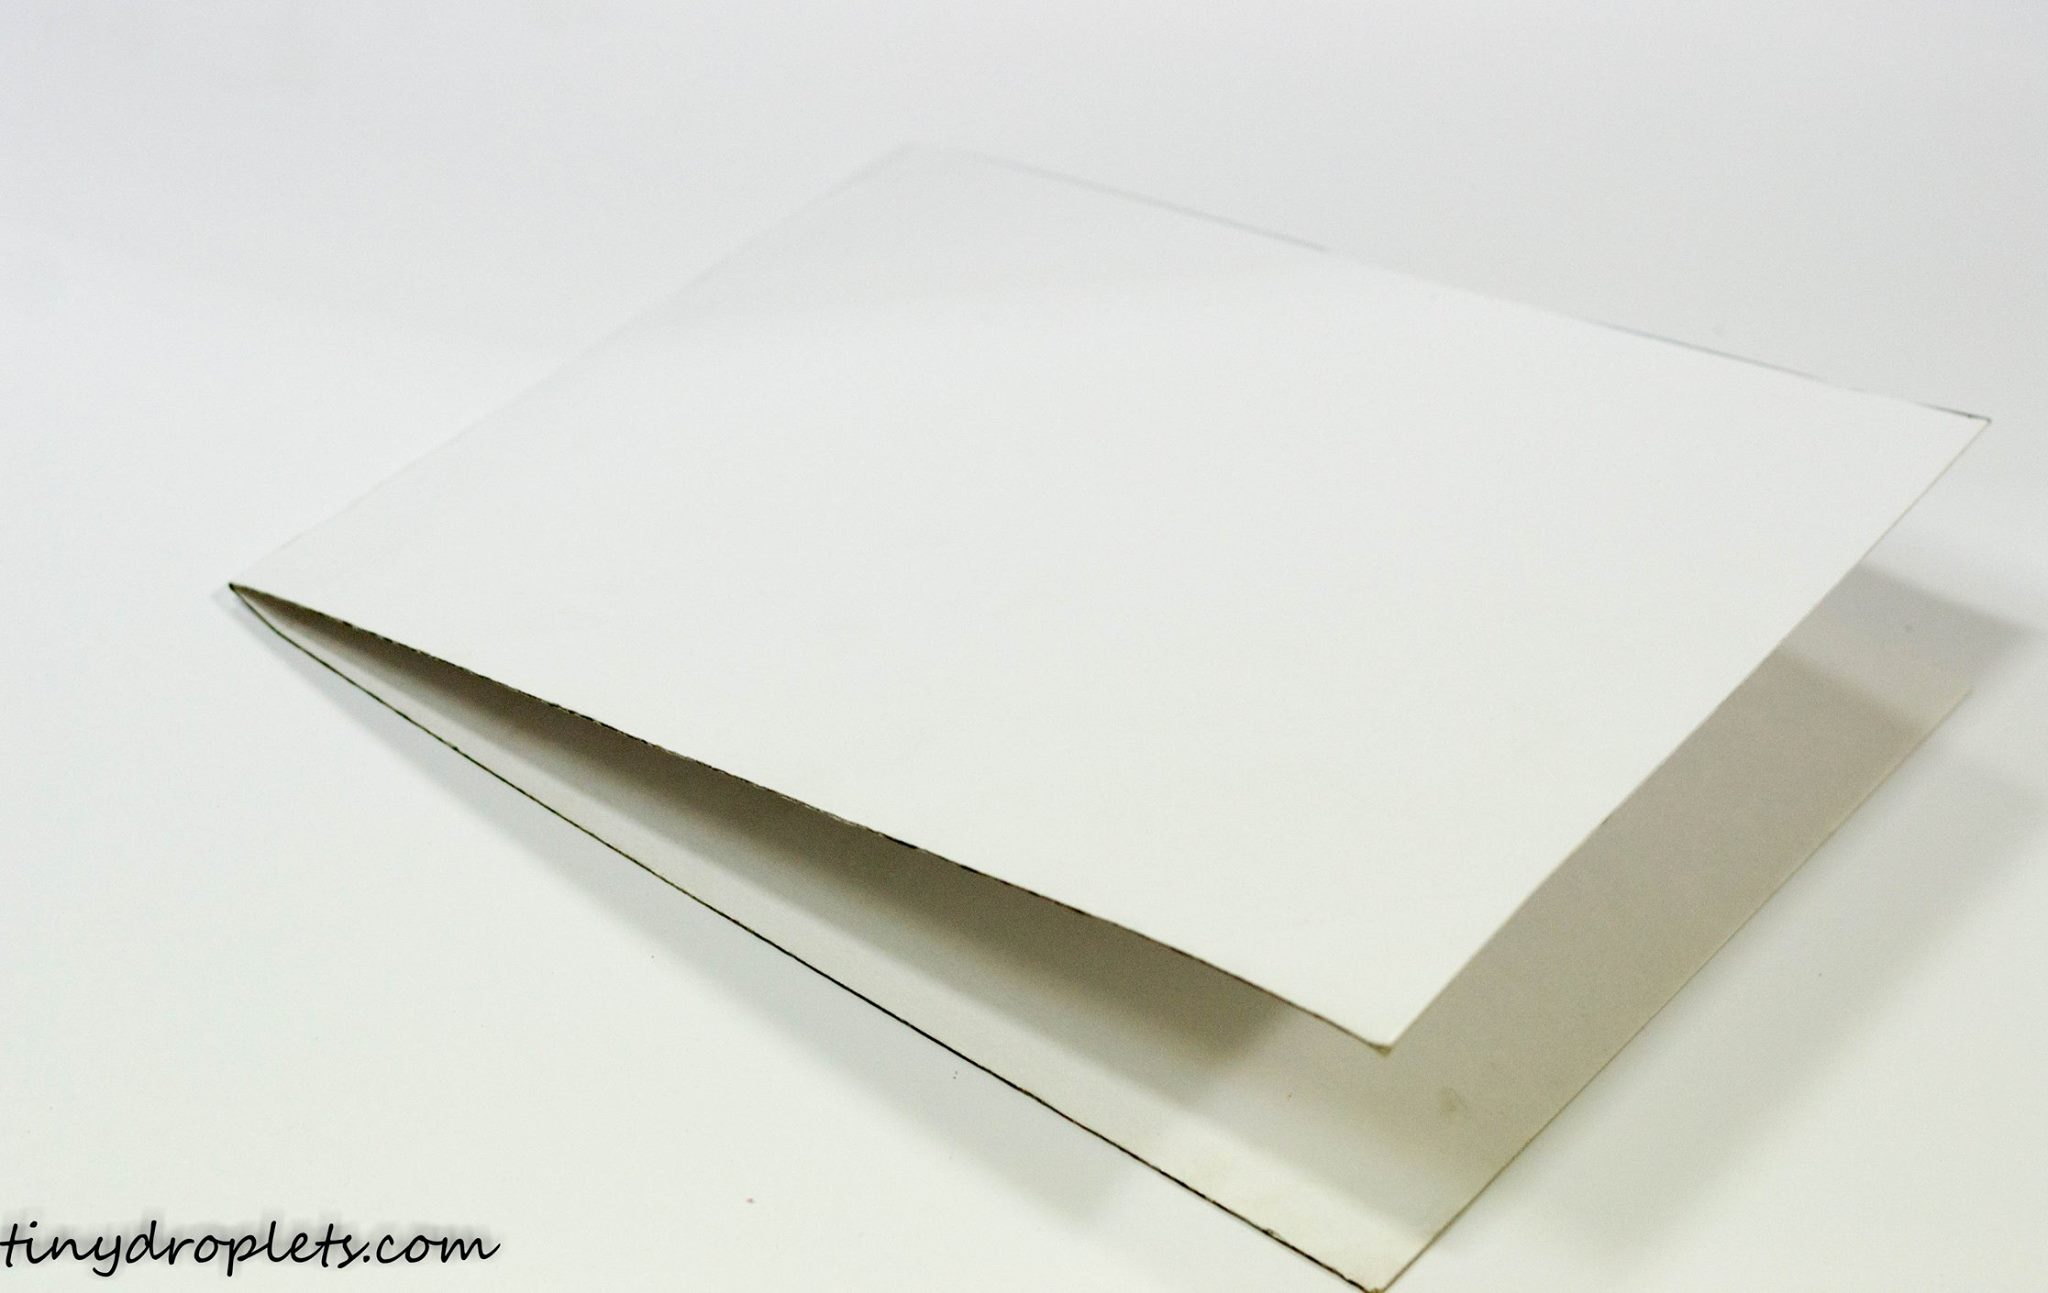
Take the hardboard sheet and cut it to size which you find suitable for your calendar. I have cut 40*15 cm sheet.
Once the sheet was perfectly cut, fold the sheet from middle.
Take the craft paper. I have used darker and lighter shades of pink. You can make your color choice while making the calendar. Using scissor cut equal sized hearts. Try to cut small hearts.
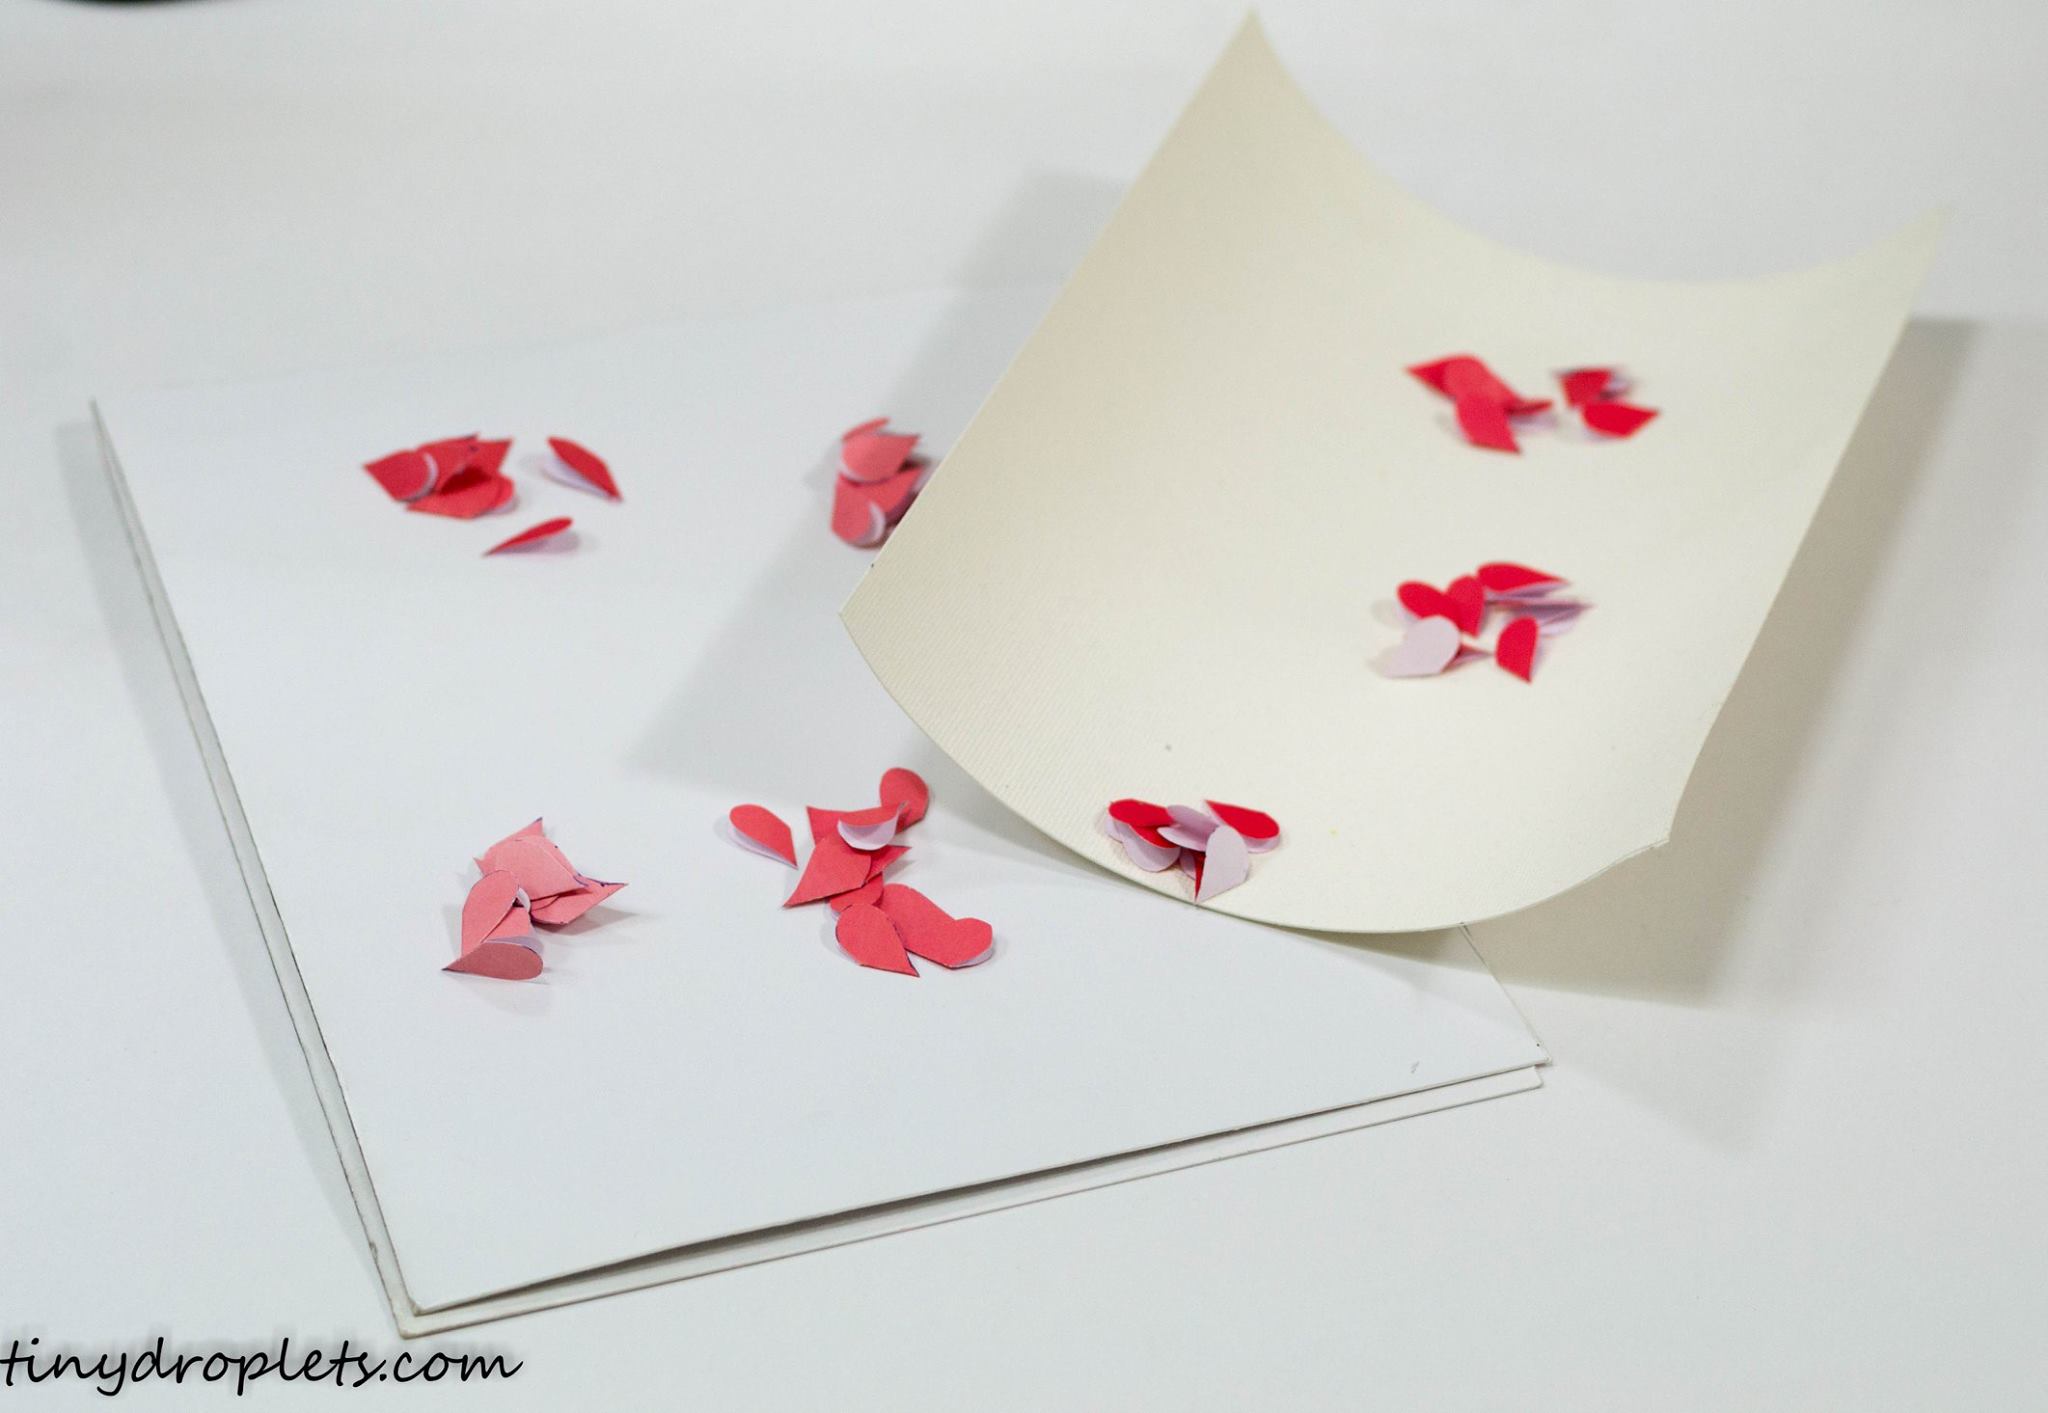
Make small bunch of different colored hearts. Now all you need to do is use a black marker and add your marriage anniversary months calendar at the bottom of the sheet.
Once dates have been written, its time to arrange the smaller hearts in heart shape. Try to maintain color order so that the heart would look splendid.
Its your day….and its time to color your marriage day with all the radiant colors that life can offer. Cheers!!!